Easy DIY Patriotic Cutoff Shorts
We went shopping a couple of weeks ago and my oldest daughter fell in love with a pair of denim shorts that had patriotic stars and stripes printed on them. We didn’t get them for a couple of reasons: 1) They were ridiculously expensive for so little material 2) I told her we could make some ourselves.
And that we did.
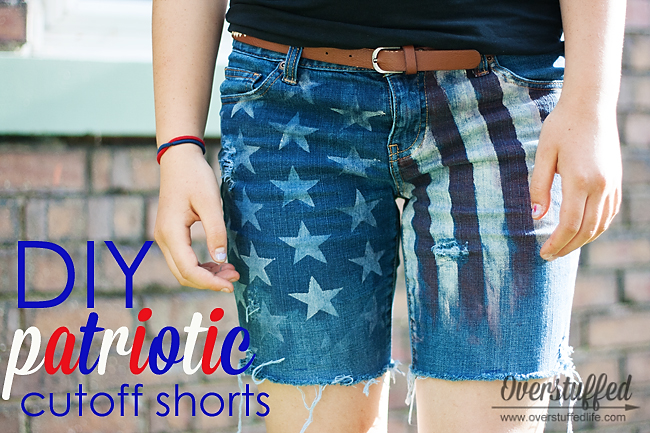
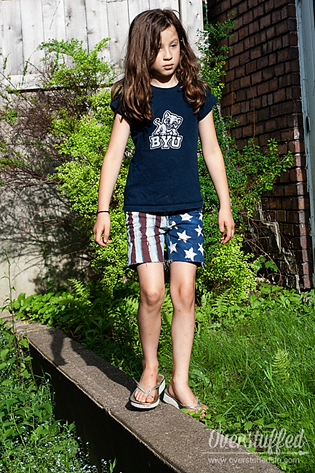
She was super excited to do this project, and helped me figure out the best way to do it. She is incredibly detail-oriented, and very good at projects like these (she was 13 at the time we made these). At the end of the post you you will see her finished product, and her sisters’ versions as well.
Easy DIY Patriotic Cutoff Shorts
Supplies needed:
To start, we need just a few basic supplies, most of which you probably have on hand:
- A pair of old jeans you are willing to cut off (My oldest had to find some at the thrift store, the other two easily found a pair in their drawers with the knees worn out).
- Acrylic craft paint in red, white, and blue. Since we wanted a more vintage look, we chose more muted colors—more of a maroon, linen, and navy.
- Blank stencil-making sheets
- An exacto knife
- Painter’s masking tape
- Foam paint brushes
- Medium weight paint brush
- Coarse grit sandpaper
Directions:
Step 1: Make a star stencil. This is the only thing I don’t actually have a photo of, but it’s pretty self-explanatory. You can either freehand a star or print a perfect one out from the computer, which is what we did. Then (carefully!) use your exacto knife to cut out the star from the blank stencil sheets. We chose to then cut the stencil smaller so it was easier to work with. You will see photos of it shortly.
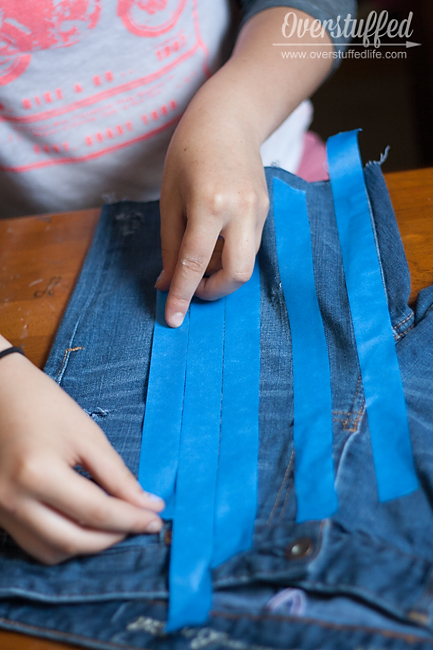
Step 2: Use the painter’s tape to mark stripes on one leg of your cutoff jeans. My oldest carefully put three stripes of tape next to each other and then removed the middle one so she had perfectly even stripes. The other girls were a little less detailed with theirs.
Step 3: Using the foam brush, paint red in between the tape. You can use a light touch for a more worn look, or lots of paint for a brighter look. My oldest used a cool fade-out technique on her shorts to make them look even more vintage-y.
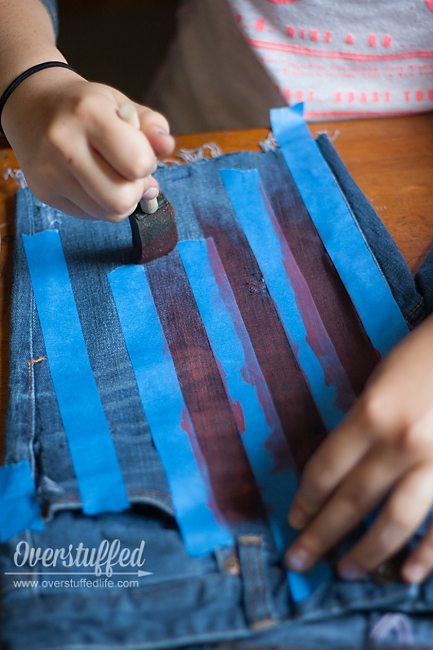
Step 4: Remove the tape and let the paint dry. While the red stripes are drying you can paint the other leg entirely blue with a different foam brush.
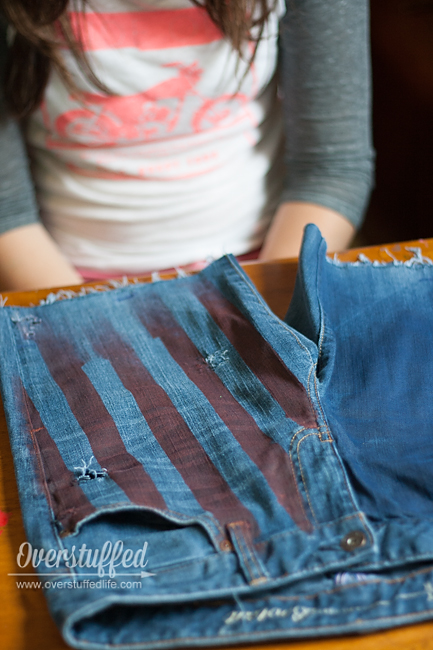
Step 5: Once the paint is dry, tape over the red stripes.
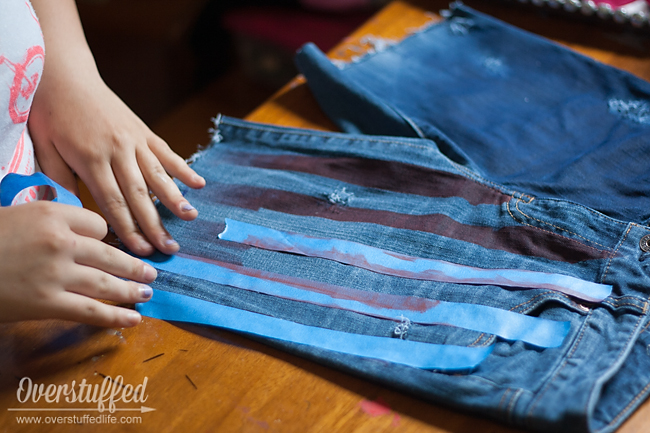
Step 6: Use your foam brush to paint the white stripes between the tape. Again, paint as lightly or heavily as you like. Bleed-through will be less the lighter you paint, but some bleed-through contributes to the aesthetic.
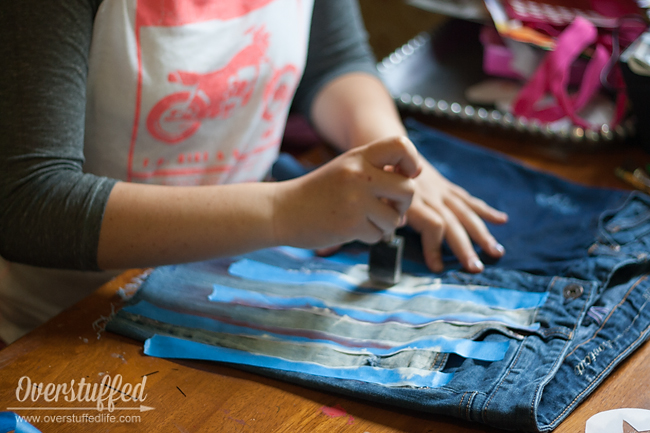
Step 7: If the blue paint is dry, you can start stenciling your stars. First decide a basic pattern for them and know what spacing you will need. Using a medium sized paintbrush and a stippling motion, stencil your stars in with the white paint. Be careful not to load too much paint on the brush for this step, as it will bleed through the stencil. In this case, the bleed-through will just look messy and may ruin the stars completely.
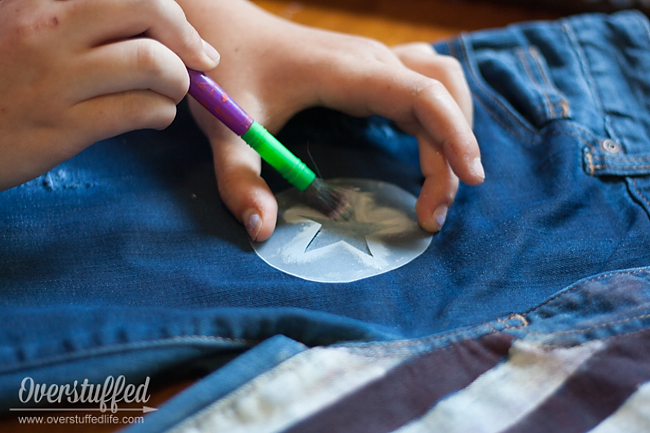
Step 8: Repeat Step 7 in your previously decided pattern. As I mentioned before, my oldest daughter is super detailed, and really took her time to make sure each star was perfectly placed. Random is totally cool, too! You’ll also notice she continued to use her neat fade-out technique with the stars.
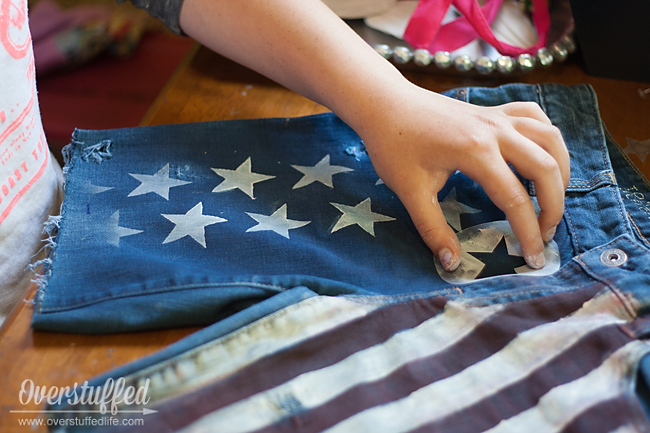
Step 9: Allow all the paint to thoroughly dry, and then using coarse grit sandpaper, rough it up a bit. Again, my oldest was really going for the vintage look and she didn’t want her paint to look too bright. Her sisters chose not to bother with the sandpaper, and their shorts look pretty awesome too.
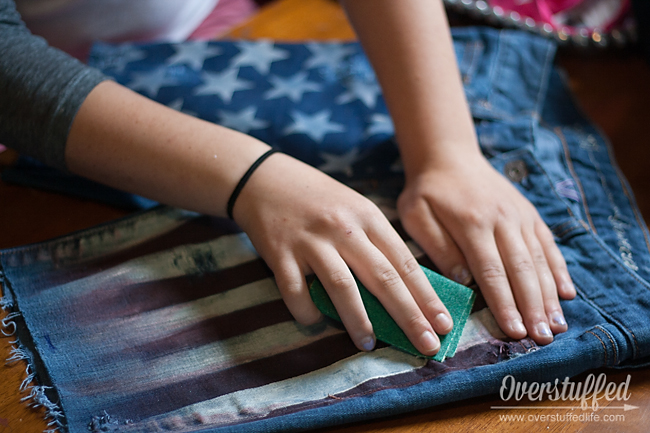
Step 10: Sit back and admire your awesome handiwork! It’s so fun to watch your kids be so proud of something they created!
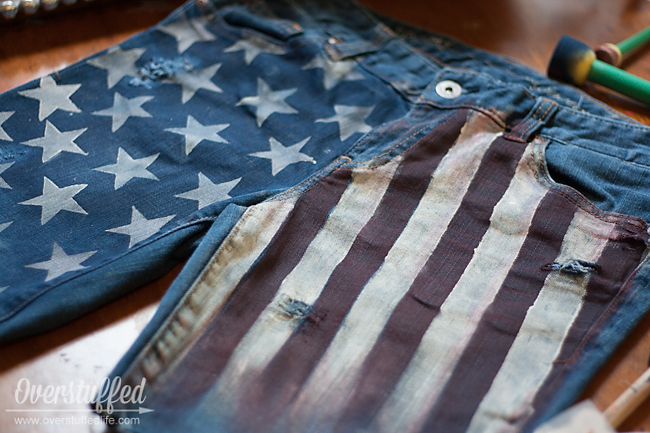
Step 11: Wear them (we washed them first, just because, but it is probably not super necessary)—just in time to celebrate fireworks on July 4th.
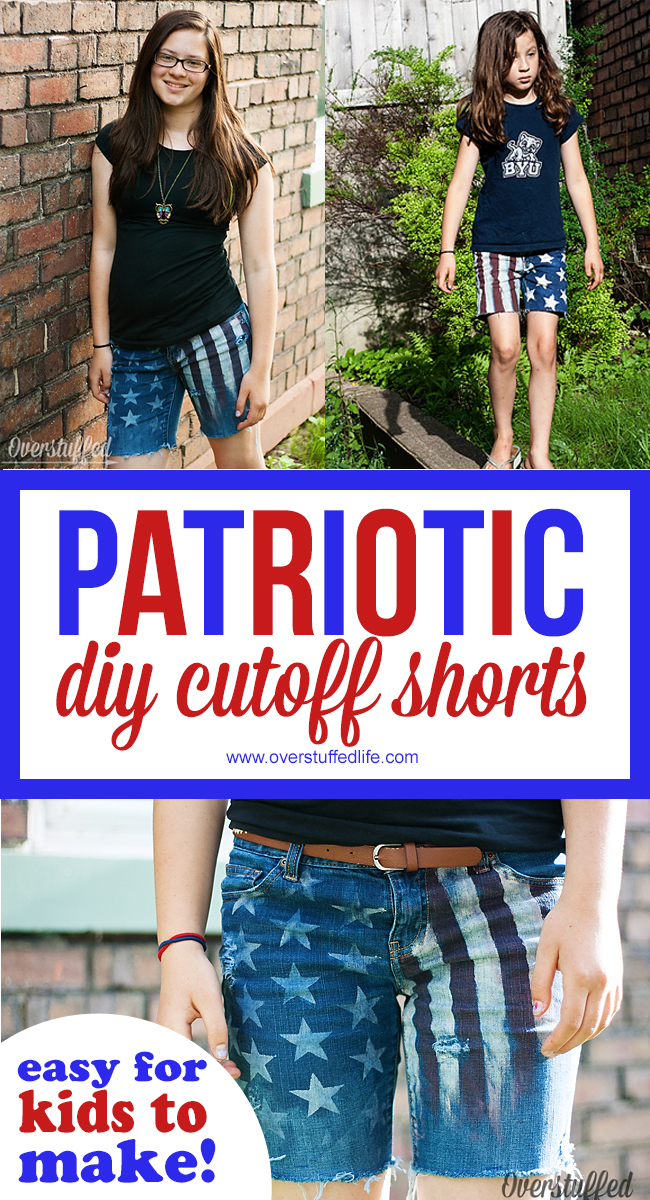
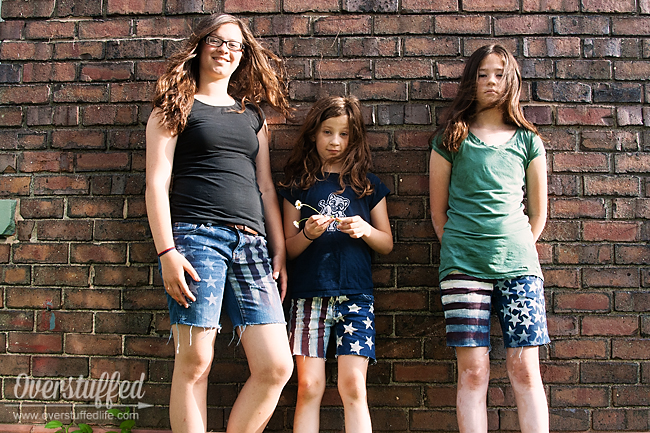
Aren’t they all adorable? I thought it was fun to see the different takes they had on the same project. I love how my middle daughter put stars everywhere and chose horizontal stripes, and my youngest painted hers really dark and bold.

You might also like:
- DIY Library Book Bag
- How to Make Faux Chalkboard Art
- Follow my Crafts & Sewing Projects Board on Pinterest
This post may contain affiliate links, for more information, please see my disclosure.

They are fantastic. I love the look. Great job.
These are fabulous!!!
These are so cute Lara.. Pinning it
Super, super cool. I shared it because I know others would love it, too!
Those look awesome! Bria is super talented! (And I agree about never finding shorts that are long enough.. my kids lament that problem as well!)
They seem to be just getting shorter and shorter, and who wants to wear that?
And yes, I'm fairly sure that Bria did a much better job with these than I would have. I do not have the patience for detail work that she does. 🙂
I love them!!!!
Those are so awesome!!!
This is such a cute idea. I love how each of them did something a bit different.
Each pair of cut offs is perfect and unique. I am so impressed. Thanks for sharing!!
I love the fade at the bottom and how easy these really are well making good use of old jeans! Thanks for the idea!
I'm seriously so impressed with her fade out technique. First of all, I never would have thought of that, and second of all, I don't think I would have had the patience or skill to make them so nicely!