DIY Yarn Witch Hats
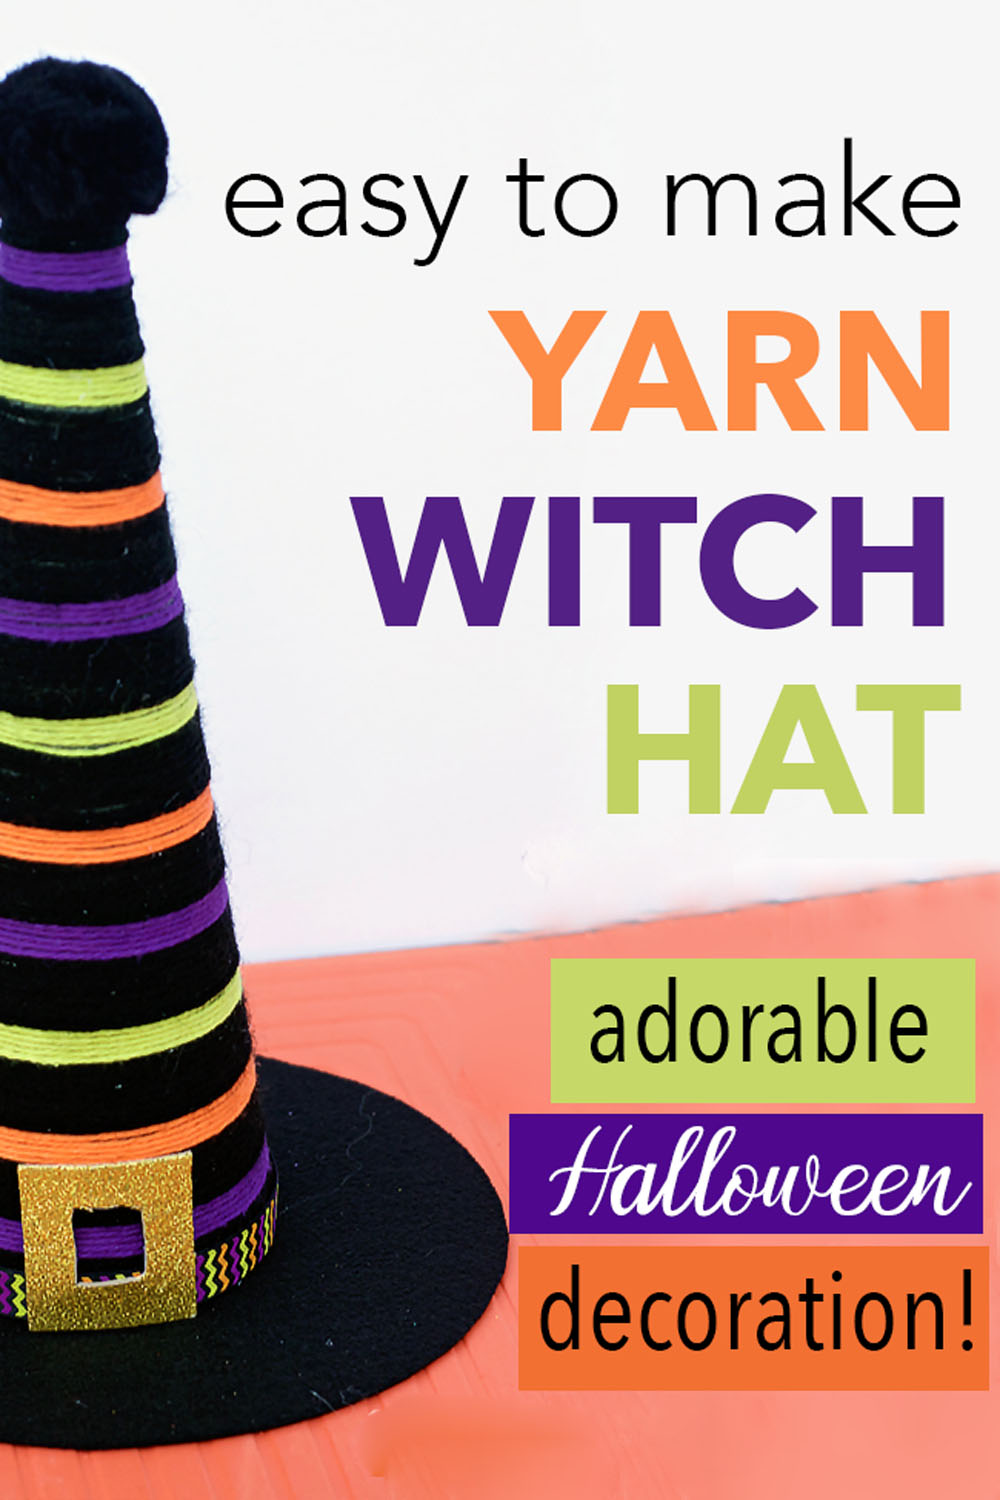
These adorable DIY witch hats are made out of yarn and a few other craft supplies. Super easy to make and a fun addition to your Halloween decorations!
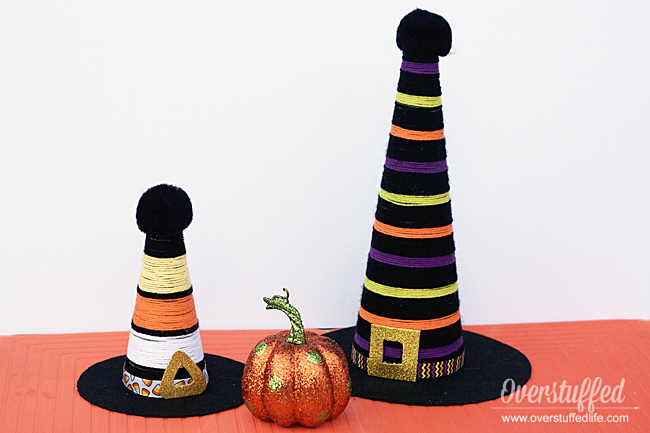
While I don’t decorate my house for most holidays, starting in the fall I am all over holiday decorating.
I especially love decorating for Halloween, and I have gathered quite a few Halloween decorations over the years. Something about Halloween also brings out my crafty side, and I find it really fun to make my own Halloween decor.
This year, I am not living in my own house. My husband is on sabbatical, and we are currently living with my parents. Obviously, I did not lug my three bins of Halloween decorations across the country with me, so I figured I would make a few things and just gift them to my mom when I leave.
Last week I made a candy corn wreath that is hanging on my parents’ front door, and this week I’m sharing some adorable DIY witch hats.
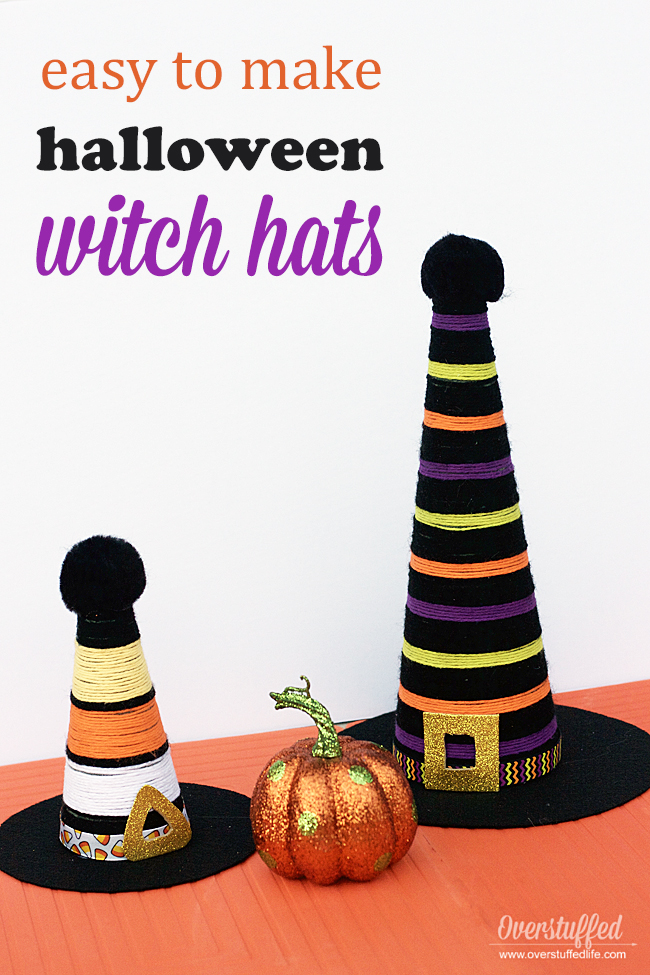
I was shopping with my mom when I saw some really cute witch hat decorations. It gave me the idea to make my own with yarn instead of the plastic stuff the store bought hats were made from. I bought all of the supplies we needed at the local craft store and headed home to make my witch hats.
You guys, they turned out so cute! I don’t even think the pictures do them justice, and now I’m contemplating dragging them back to Michigan with me.
But even if I can’t justify bringing them home, they are super easy to make, so I’ll just have to make a few more next Halloween!
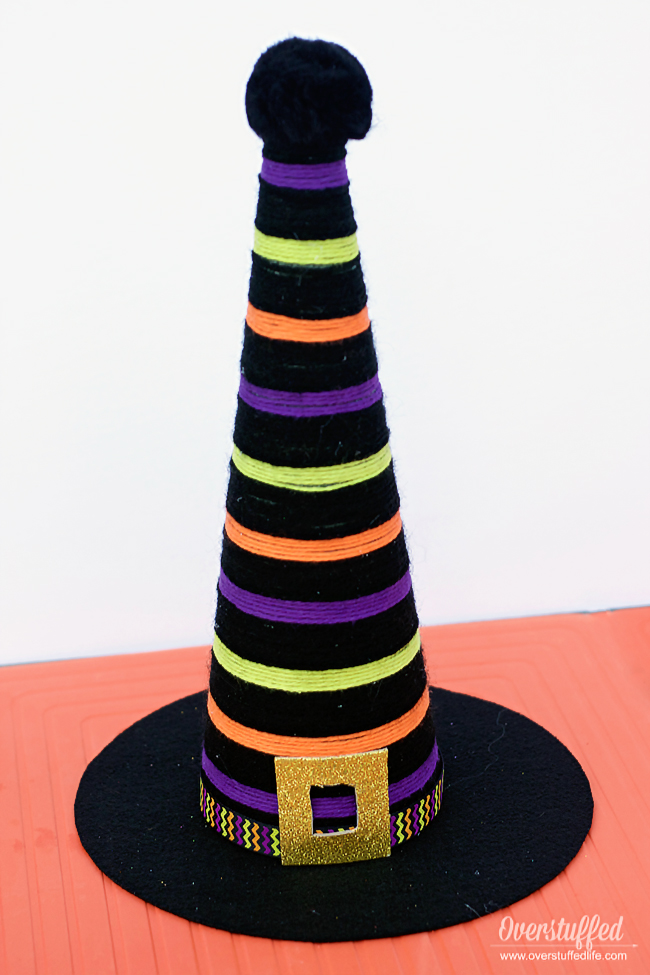
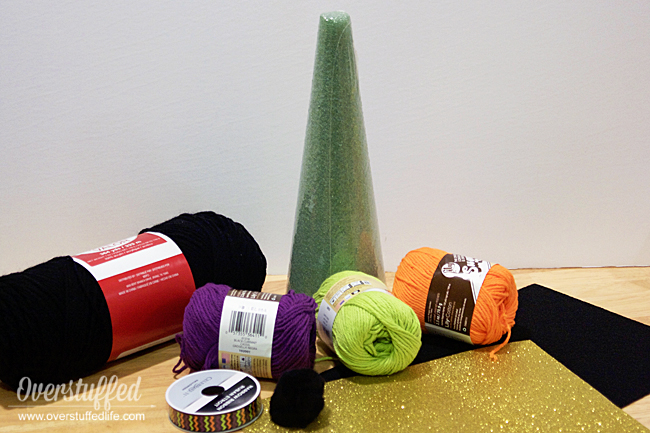
Large Witch Hat—Supplies Needed:
(affiliate links)
- Black Yarn (weight 4)
- Purple Yarn (weight 4)
- Orange Yarn (weight 4)
- Green Yarn (weight 4)
- Styrofoam Cone (I used a 12″ cone, but you can go bigger or smaller!)
- Stiffened Black Felt
- Glitter Gold Craft Foam
- 2″ Black Pom Pom
- Halloween Ribbon (I chose a ribbon in the same colors as the yarn I was using, but there are so many choices—head to your craft store and pick your favorite!)
- Hot Glue Gun
- Glue Sticks
- Scissors
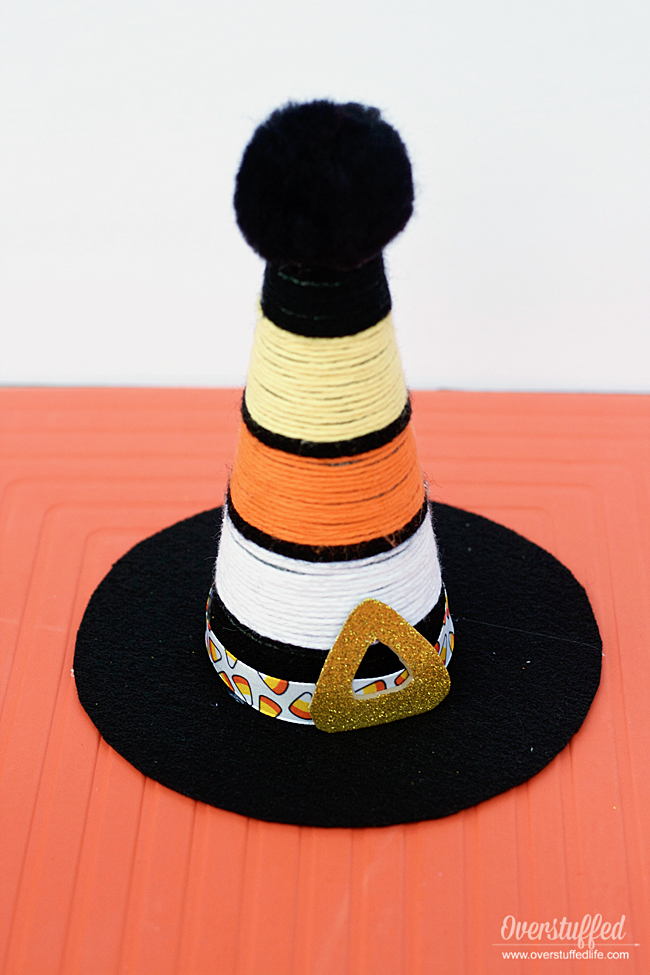
Small Candy Corn Witch Hat—Supplies Needed:
(affiliate links)
- Black Yarn (weight 4)
- Orange Yarn (weight 4)
- White Yarn (weight 4)
- Yellow Yarn (weight 4)
- Styrofoam Cone (I used a 6″ cone for this project)
- Stiffened Black Felt
- Glitter Gold Craft Foam
- 2″ Black Pom Pom
- Candy Corn Ribbon
- Hot Glue Gun
- Glue Sticks
- Scissors
Directions to make witch hats:
1. Decide on your pattern
For the larger hat, I decided on a black/purple/black/orange/black/green pattern. I wanted the black stripes to be wider than the colored stripes, so I ended up doing 5 times around with the colored yarn and 8 times around with the black yarn.
2. Hot glue the yarn to the cone
You don’t need a lot of glue for this step. I only used a small dot of glue to secure the yarn on the back of the project. I would then add more glue as I changed colors.
As you change colors, make sure the colors always change in the same place on the back of the cone. This way, your project looks uniform.
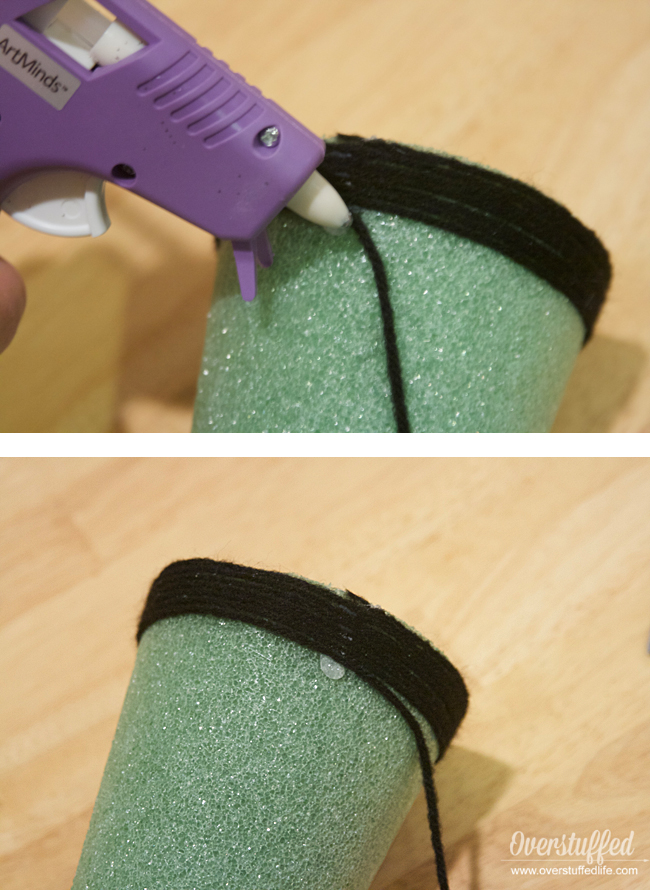
Take care not to burn yourself during this process! I have a low-temp glue gun so I am less likely to burn my fingers, but I still need to remember that a small amount of hot glue goes a long way in a project like this one!
Don’t worry if your yarn shows a little bit of the cone underneath. It’s part of the charm of the project.
3. Attach Pom Pom to Top of Hat
The cones I used had flat tops, so it was easy to attach the pom pom with just a bit of glue. You may need to use more or less glue depending on the size and shape of your styrofoam cone.
4. Make Felt Hat Brim
Find a plate that is about the size you’d like your hat brim to be. Lay it onto your stiffened felt and cut around it.
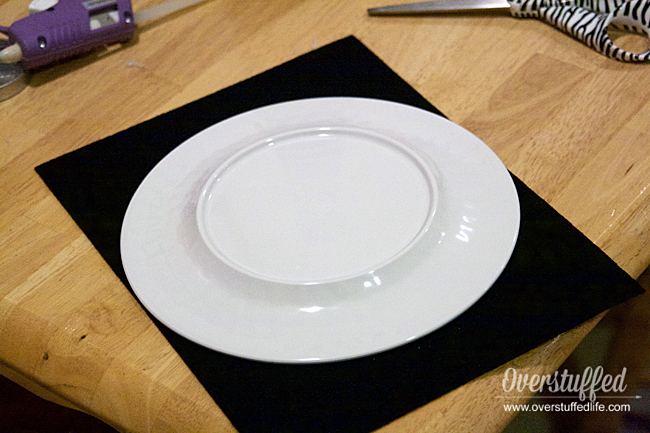
Alternatively, you can use a pencil to trace the plate onto the felt and then cut it out, though this will be more difficult with the black since the pencil will be hard to see.
5. Glue Foam Cone to Brim
Since the cones are solid, the easiest way to do this is to put glue all over the base of the cone and center it right onto the felt.
6. Attach Ribbon
Cut a length of Halloween ribbon that will go all the way around the base of your cone. Make sure that the cut is attached on the back of the hat—you’ll only need about three dots of glue to attach the ribbon securely.
7. Make and Attach Buckle
Cut a buckle out of the glittered craft foam. I made a triangular shaped buckle to go with my candy corn themed hat and a regular square one for the other hat. You can make the buckle whatever shape and size you like!
The craft foam I used had a sticky backing, but I worried it wasn’t enough to stick to the yarn, so I also used a few dots of hot glue to attach it to the hat.
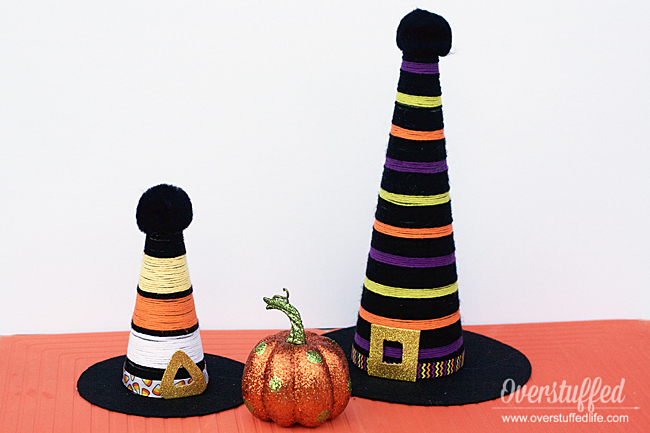
That’s it! The project is pretty easy, and the winding of yarn can easily be done in front of your favorite tv show.
I love how mine turned out—they are WAY cuter than the ones I saw at the store (if I do say so myself)!
This post may contain affiliate links, for more information, please see my disclosure.
