Easy DIY Charging Station
How to turn a drawer into a charging station for your electronics
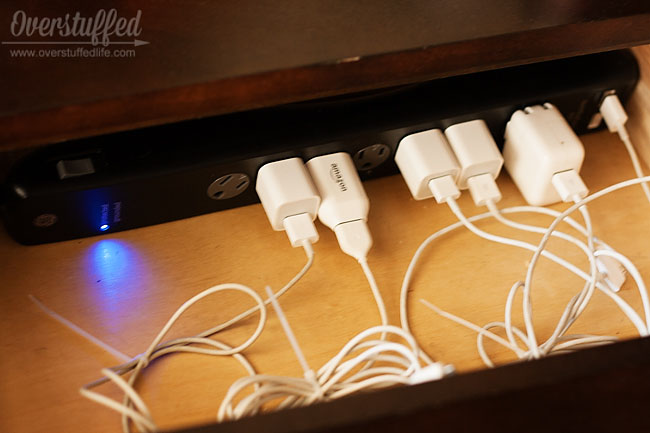
It’s very simple to turn a small nightstand or cabinet with a drawer into a charging station for your cell phones and other devices.
Welcome to Day 7 of the 31 Day Decluttering Challenge.
For the next few days, I’m going to show you a few ways I’ve applied the decluttering principles we’ve already discussed in my own home.
Looking for something easy and simple to buy instead of DIY? This charging station is perfect and can handle up to 10 devices: 10 port USB Charging Station.
We’ve already looked at my closet and the playroom, and today I’m going to show you what I’ve done with cell phones and other electronic devices and their chargers.
My husband and I did not get cell phones until we were 30 years old. My kids think that’s insane. And, since we just got our oldest (turning 14 next week) her first iPhone this summer, I can see why. It is very difficult to live in today’s world without having a bunch of electronic devices.
And those devices (phones, iPods, Kindles, iPads, etc.) contribute in a major way to all the clutter.
Even though I have always had a place where chargers are kept, half the time there wouldn’t be any chargers actually in that place.
This is because we didn’t have a designated spot for charging. If my cell phone was dying, I would often have to search all over the house to find the right charger for it.
No more.
Now we have created a place for all the electronic devices to charge, and the wandering cord problem has been solved. Also, the lost phone problem has generally been solved, too, though I am still trying to get the kids to remember to put their phones and iPods back when they are finished.
Easy DIY Electronics Charging Station
Needed supplies:
(affiliate links)
I liked the idea of a drawer for a charging station. This way, all the cords and devices could be hidden.
The Maestro and I did a lot of shopping around to find something that might work for the space in our living room where we planned to put it.
We finally found this one at Target:
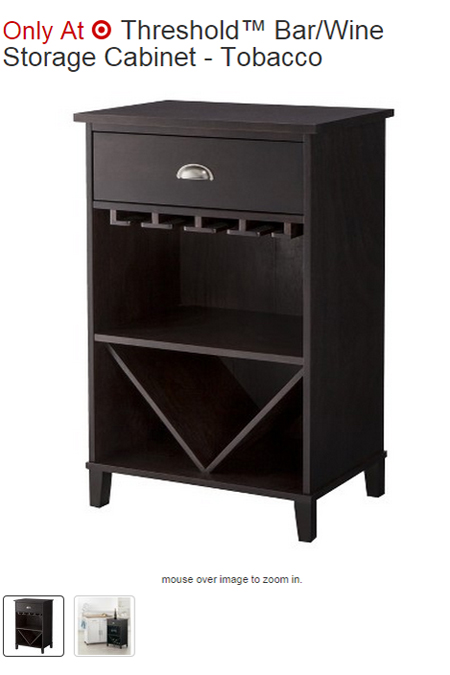
It matched our style and decor, and it was the perfect size for the space. More importantly, it had a drawer.
It is no longer available at Target, but I found a VERY similar one on Amazon: Bar/Wine storage cabinet
We also purchased a power strip with 7 outlets and 2 USB ports, which makes it capable of charging up to nine devices simultaneously. (Here is a similar one on Amazon.)
With five people in our family, nine is not excessive at all.
We currently have: 3 iPhones, an iPad, a Kindle, and two iPods.
Plus, that leaves two more outlets to accommodate any future devices brought into the home. And believe me, it’s a matter of when, not if!
Our first line of business was to drill large holes into the back of the drawer. A one-inch hole is generally big enough for most plugs, so we started with that. You will need a special drill-bit.
Purchase drill bit here (affiliate link): One inch spade drill bit
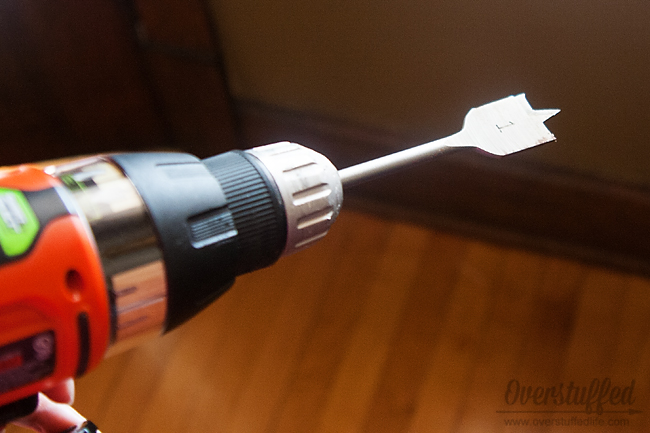
Unfortunately, the plug on our power strip was a little too large for the one-inch hole.
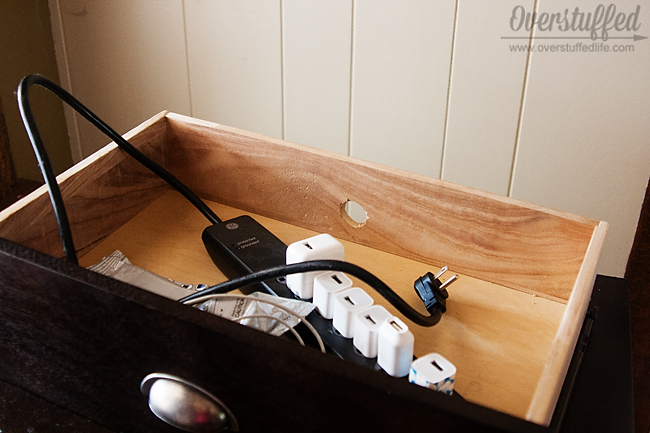
So we just drilled another hole right next to it. You can see where I had started drilling on the back of the cabinet. The drill died right then, and so I took a photo while it was charging back up. The Maestro finished the job later, and I never got a photo of it.
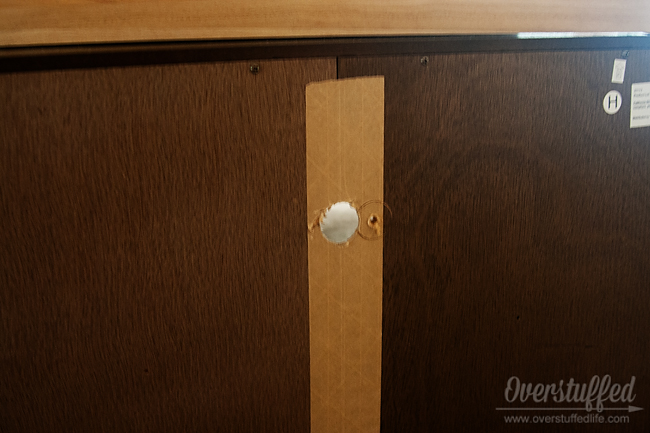
That made it just big enough to feed the plug through the back of the cabinet.
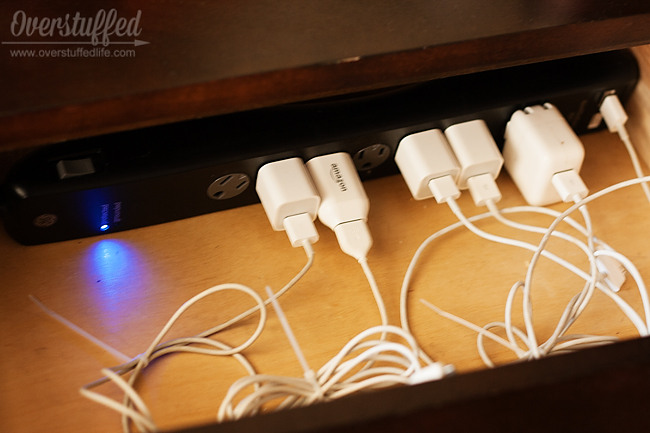
I didn’t bother to secure the surge protector to the back of the drawer, but it could easily be done with screws. For us, it works just fine to have it just leaning up against the back of the drawer.
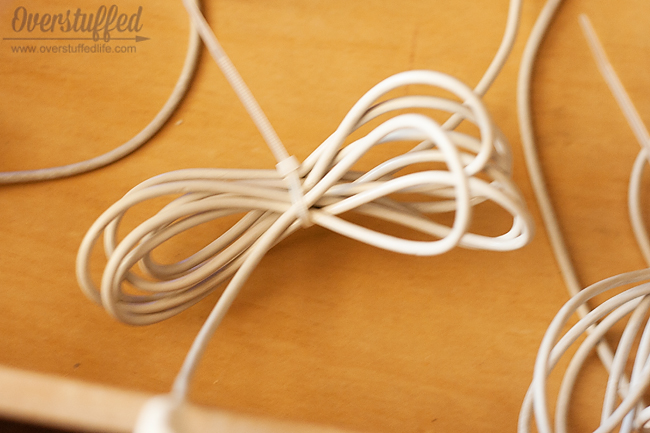
I used zip ties to make the cords shorter, otherwise they get tangled too easily. They are easily removed if someone needs to take their charger out of the drawer. We can always put another one on.
Here is what it looks like with one phone, the iPad, and the Kindle in the drawer.
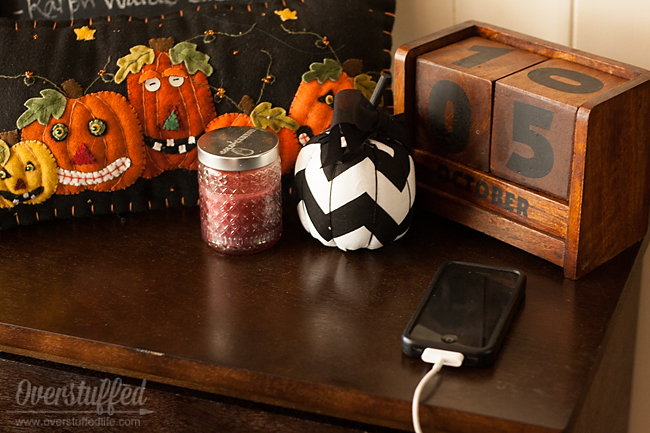
I also like that you can easily charge your phone on top of the cabinet if necessary. I frequently do this during the day because I have a hard time hearing it when it is inside the drawer.
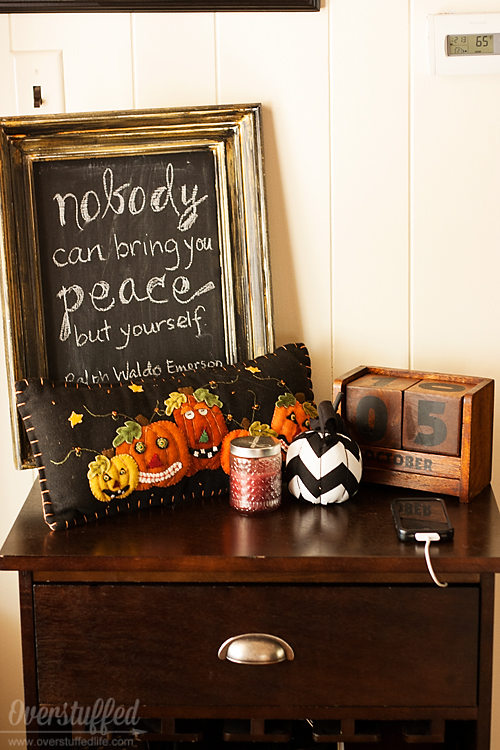
Luckily the space between the drawer and the top is just large enough for the charging cords to fit through without getting smashed.
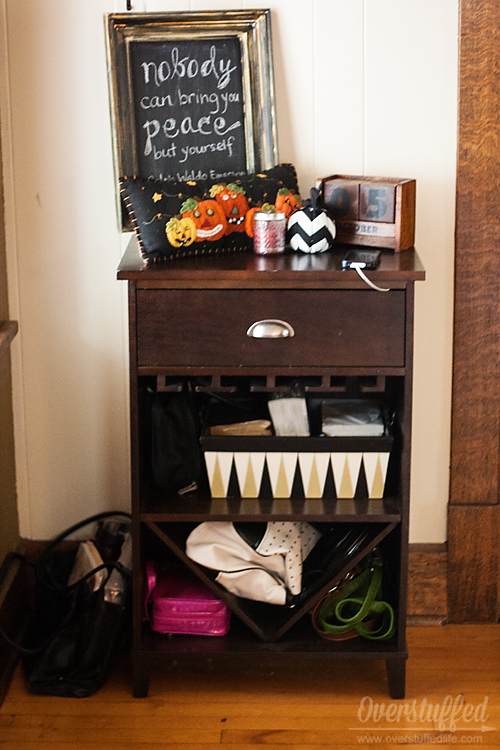
We are using the bottom portion of the cabinet to hold our scriptures and purses. The “wine” part of the cabinet makes it a little strange to store anything else, so I am thinking of trying to at least take out the glass holders. Still, it works well for the scriptures and purses, and I am happy that the cell phone charging mess is fixed!
Edit: I have since unscrewed the glass holders and removed them, and also taken out the diagonal shelves. It makes the cabinet more functional for our purposes.
Also, I don’t bother with the zip ties anymore. Things sometimes get a little tangled, but it’s fairly functional anyway.
Today’s Assignment:
- Ask yourself if your electronic devices and charging cords have a permanent home.
- Do they stay there?
- Brainstorm ways to make an electronics station that will work for you and your home.
Here is some fun inspiration from around the web:
- Turn an old medicine cabinet into a charging station by Eden Makers Blog.
- Bedside charging station by The DIY Playbook.
- Turn a bread box into a charging station by The Kim Six Fix.
How do you tame the electronic clutter?

Find all of the posts in this 31 Day Challenge here: A Place for Everything: 31 Days to Less Clutter and More Peace.
Want to start the 30-day declutter challenge?
Fill out the form at the very end of this post and you will receive an email each day with a new decluttering assignment.
Are you ready to declutter your life?

Join the 31 day challenge to get rid of clutter and make room for peace.




I love this! I was so excited when you told me your charging station would be on the blog soon. This is a great way to keep everything organized and uncluttered. I pinned it!
Lara,
This is a great project. I love it. My night stands came with a plugs. Its great.
This is a great idea! I really need to do something to make all my plugs less cluttered. Thanks for the tip!
I love the ideas for the babies clothes. I am going to do that. Awesome tips
This is gorgeous. I love how they stay in the drawer, so the blinking light doesn't bother you when you are sleeping. This is one of my biggest pet peeves, when either my husband or I don't make sure that our phones are flipped face down. Great post Lara!
Thanks! I wish I would have thought of it a long time ago! It's working very well for us now, though.
I love how they stay in the drawer, too. It's nice that nobody has to know there is an electronics mess inside that drawer! And yes, the lights at night are annoying!
It's amazing the amount of chargers one person needs, isn't it? 🙂
I imagine that more and more furniture is coming with plugs in the drawers. I will have to look for that next time we purchase something, that is great!
I'm sure they multiply when we're not looking. That is, unless they are walking off when we're not looking. Because they do that, too.
We are really loving it, too. It's solved a lot of problems at our house!
Oh my goodness the over the door shoe rack for AG clothes is pure GENIUS! Already ordered one on Amazon!
Did you get that American girl keepsake box on their website? Its so cute.
Ahhhh this gives me hope! We move in 3 days and I'm terrified to tackle our playroom and the girls bedroom because of the multiplying toys and random clutter.
I hope that your move went well! Moving is a great time to get rid of toys. 🙂
Yes. It's just called the American Girl Keepsake box. It's intended to store a doll and some accessories/clothing –especially once girls have grown out of them. But it makes an excellent "closet" for dolls being currently played with as well.
I know this post is really old but I have to say I appreciate that it’s not like most of the charging drawers on Pinterest where they are conveniently only charging one phone and one ipad LOL. i have a charging drawer but it’s a MESS with all the chargers!