DIY Cheetah Mug: Easy Craft for Kids
An easy to make craft for kids who love wild animals
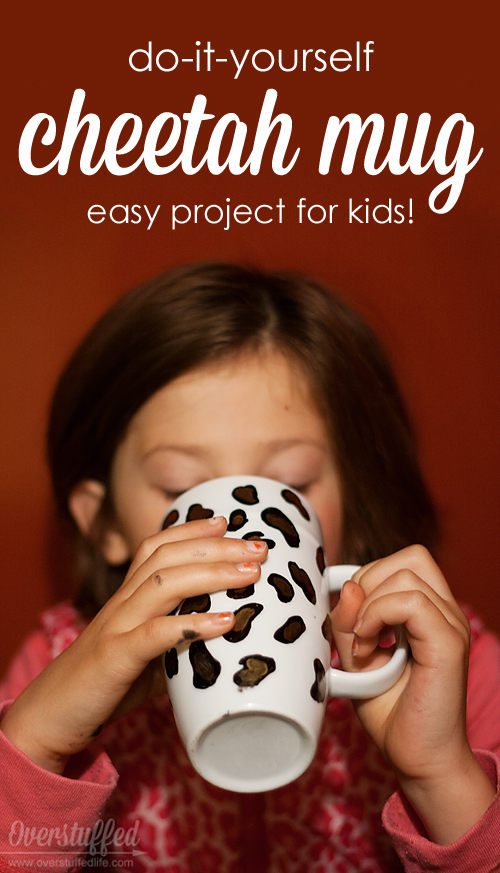
My 8-year-old daughter is obsessed with all things cheetah. 95% of her wardrobe features cheetah print, her lunchbox and backpack are cheetah print, she recently checked a book out of the library all about cheetahs, and I’m pretty sure that she wants to actually be a cheetah when she grows up.
So, naturally, when she complained about not having a big enough mug for hot chocolate last winter, I thought it would be fun for her to have a cheetah-print mug of her very own. The weather has considerably cooled down in the last few weeks, and the winter is not far away (let us all have a moment of silence for the passing of summer), so I figured we would make one together before the snows fly.
Here’s how we did it:
DIY Cheetah Print Mug
1. Gather supplies.
- white mug (any size will do, but we got the biggest one we could find)
- black oil-based paint pen
- gold oil-based paint pens.
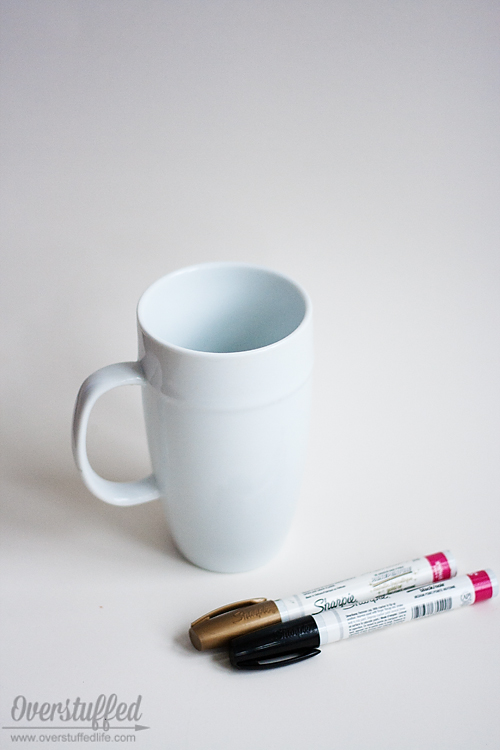
2. Get it started
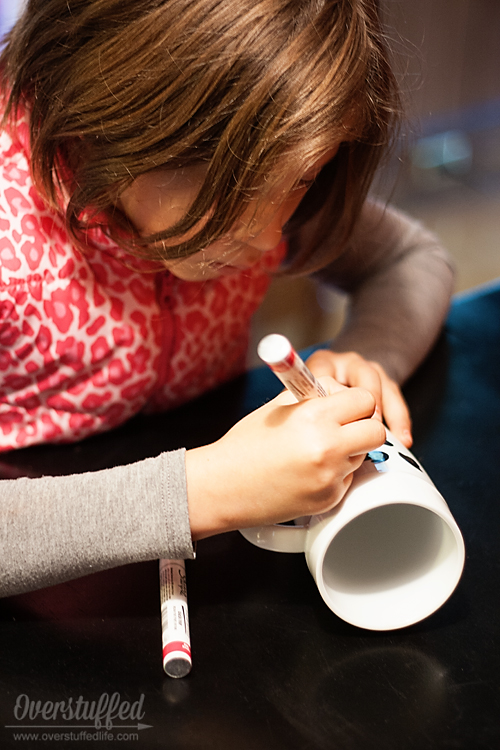
I drew one cheetah spot on the mug to start her out. I explained that she could look at any of the clothing she was wearing to get ideas for shape, but they could be pretty random! She tried out a second one underneath mine, and it was clear she was ready to do it herself!
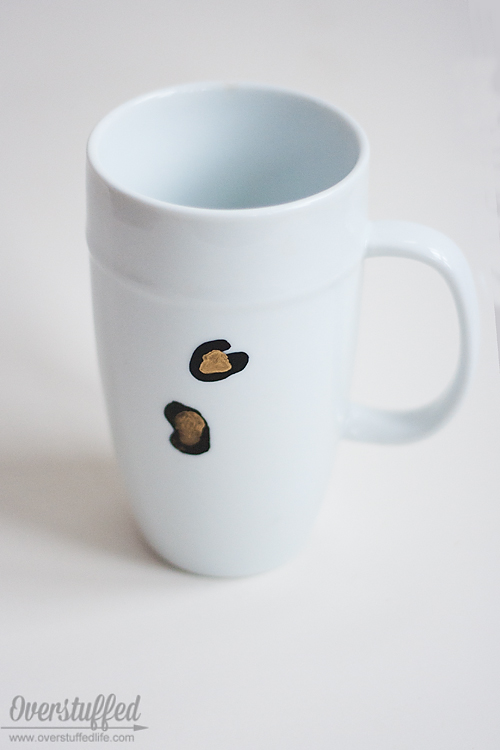
3. Start with black spots
Use the black paint pen for the base part of the spots.
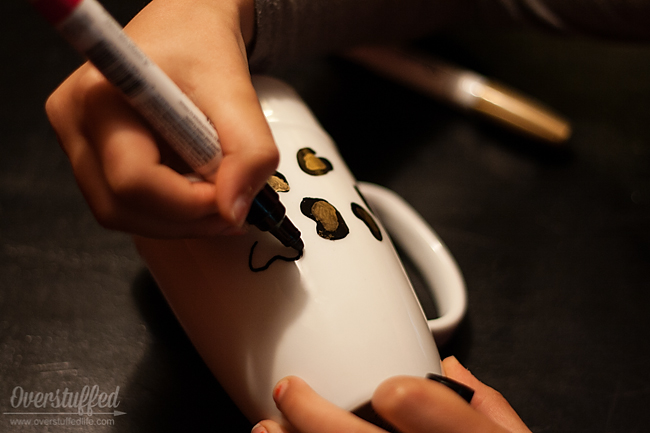
4. Add the gold
Once the black spots are dry (We did 2-3 at a time, which worked fine), you can add the gold spots to the middle. If the black paint is not dry, the gold will smear and not look as nice, so be patient!
5. Fire the mug
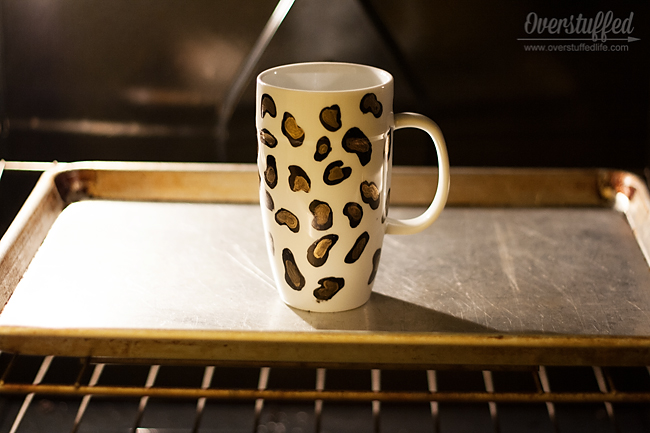
In order to set the spots, you’ll need to “fire” the mug in the oven. Place the mug on a cookie sheet and put it into a cool oven. Heat the oven to 350 degrees, and set your timer for 30 minutes. Once the timer goes off, turn the oven off, but leave the mug inside until the oven has cooled completely. It is important that the mug heat up and cool down inside the oven to prevent breaking.
It’s a good idea to always hand wash the mug to keep the paint on longer, but the firing process will certainly help!
6. Enjoy your mug!
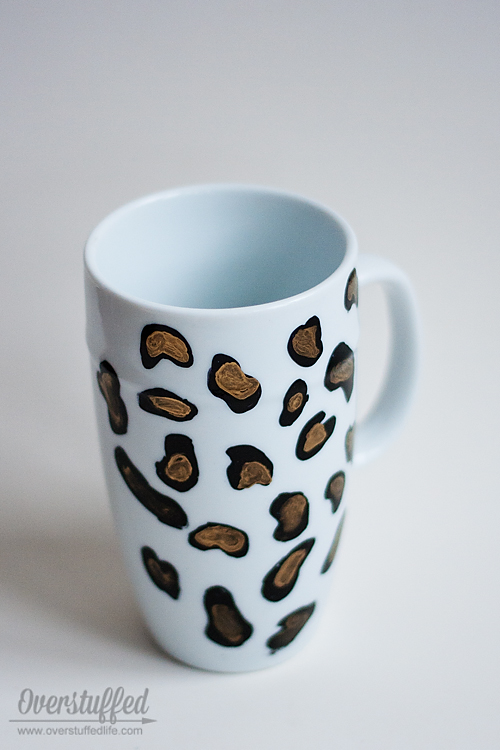
Once it’s finished, have fun using it. My daughter is loving hers. Didn’t she do a great job with it?
Now that school has started, life has been crazy busy and overstuffed, as per usual, but we managed to fit in our mug-making after school between big sister’s cross-country meet, a violin lesson, and homework. It was surprisingly easy for her 8-year-old self to do without much guidance or direction from me, so she sat at the kitchen table and worked on it while I worked on a few other things.
This post contains affiliate links.


Adorable! Sophia did a wonderful job!!
What a fun craft for all ages. My granddaughter loves painting on china. Sophia did a great job.
So cute!! We've done a few cups for our teachers…which make great gifts!
My daughter is totally into animals (all kinds) and loves when we buy some kind of food that has animals on the packaging. She would love these smoothies and would have a hard time picking which one to have first! Your daughter did a great job on her mug and I bet hot chocolate will taste much better in it. I'm not ready for hot chocolate weather yet though!
I have been wanting to do some mugs…for a while and even bought some marking pens but promptly lost them in my mess of things.
I love the wreath, how wide did you cut the strips?
Thanks, Norma! I didn't have to worry about the width of the strips because I purchased the tulle on spools. It is widely available this way, and perfect for a project like this. However, if you have tulle on the bolt, they should be about 6-8 inches wide, which is how wide the spools are.
As for length, it was approx. 18 inches. I am not one for perfect measurements, and I eyeball things, so I just played with the length until I liked how it looked on the wreath, then I cut all the rest of the strips a similar length.
I hope that helps!
Love this!! Thank you so much for sharing! Can't wait to make mine
Aww, what a cute mug! The smoothies sound yummy, too!
How did you tie the tulle over the wreath so that it stayes? in a knot form?
Yes, I just did square knots. I know some people loop it through (like you would do with a ribbon on a bookmark), but I prefer to knot it.