How to Decorate Your Christmas Tree: Part 5
The final part in a 5-part series about how to decorate your Christmas tree
How to Decorate Your Christmas Tree: Part 2 (Putting up large and specialty ornaments)
How to Decorate Your Christmas Tree: Part 3 (Putting up ball ornaments)
How to Decorate Your Christmas Tree: Part 4 (Putting on the ribbon and/or garland)
I was realizing today that I probably should have titled this little series “How to Decorate MY Christmas Tree.” Because I know that there are millions of ways to do it, and I certainly don’t think everyone should do it my way. It’s just how I do it, and what works for me. Apparently, I like my Christmas trees the same way I like my life: Overstuffed. You might be way more minimalistic where your tree is concerned, and that’s totally cool because it’s your tree. At the very least, I hope that if you read this little series I was able to help you have some ideas and vision for your own tree.
How to decorate your Christmas tree
Add final floral picks as finishing touches
Okay, so now that the ribbon is on, we just have a few little finishing touches to deal with. The first is adding the twirly twiggy thingies (if anybody out there knows a more precise name for these, I’d love to know it!).
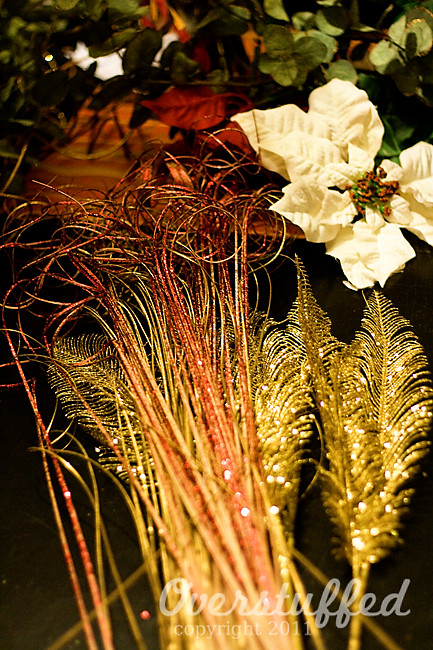
These things are twirly twigs. You can get them just about anywhere that has a floral decorating department. I’ve purchased them at the Dollar Store, WalMart, and various craft stores. They’re never very expensive and I think they are a perfect finishing touch for a tree.
You might also try some that have berry sprays or feathers. There are tons of fun things like this to choose from.
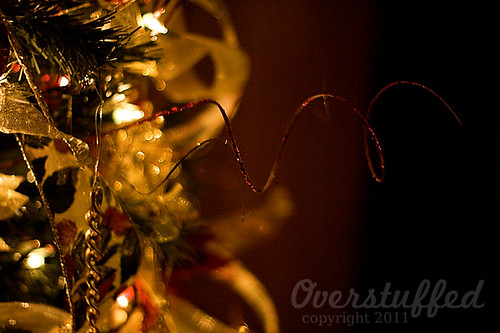
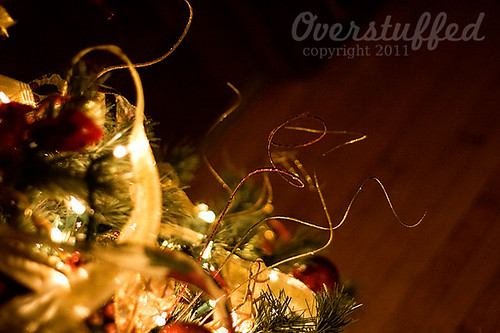
I just take groups of 2 or 3 of the twirly twigs and stick them down into the branches, leaving plenty to stick out from the tree.
Add the Christmas tree topper
After those are all in, it’s time for the most important finishing touch—the topper. You can use something specially made to be a tree topper (I have an angel), or you could just do a big bow or something. Whatever you like.
This year it was my middle daughter’s turn to help put the angel in her place of honor.
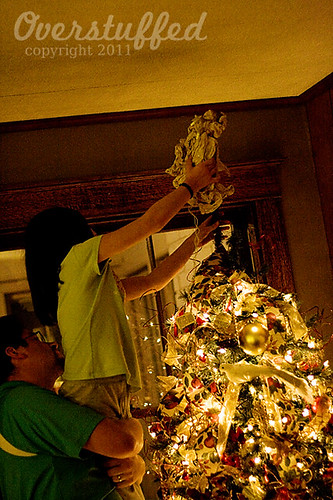
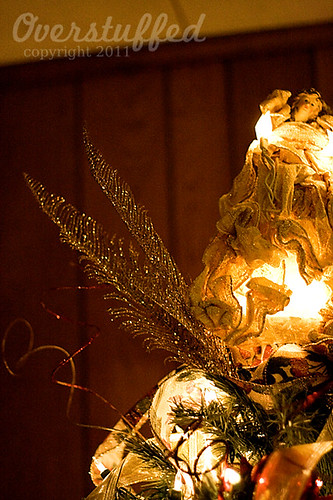
Once the angel is placed, I make sure to tuck all the ribbon under her and then put the golden feathers around her.
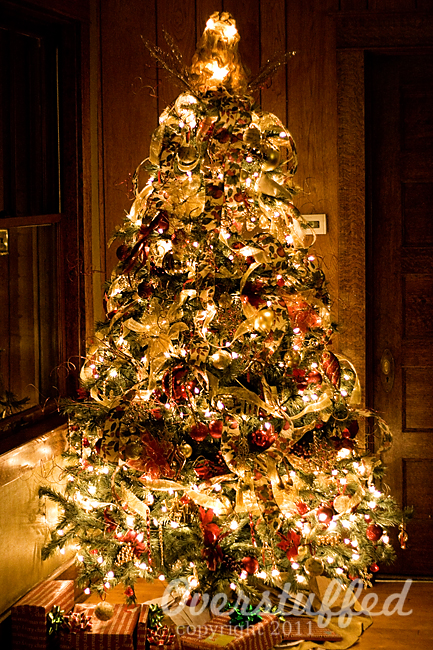
And with that, the tree decorating is FINISHED! Here’s a picture of the finished tree without lights, since it is easier to see how things are placed.
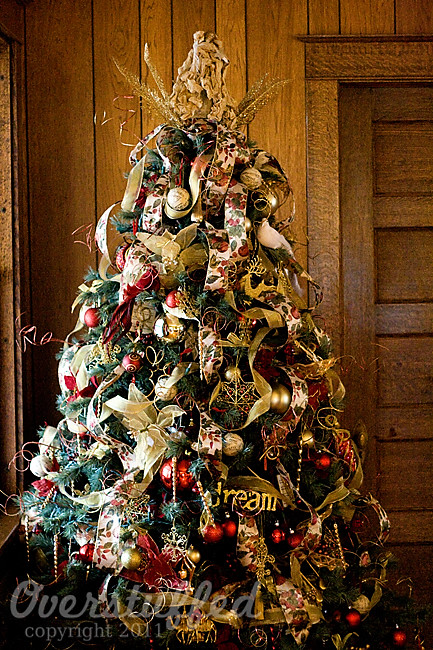
I like to see lots of stuff and very little tree. You might be the opposite—the important thing is that you really love it.
Add a Christmas tree skirt
But hold on, because we’re not finished yet! We need a tree skirt! And guess what? I don’t even have one. I use a round tablecloth that is kind of goldish in color because all of the tree skirts I like are way too expensive.
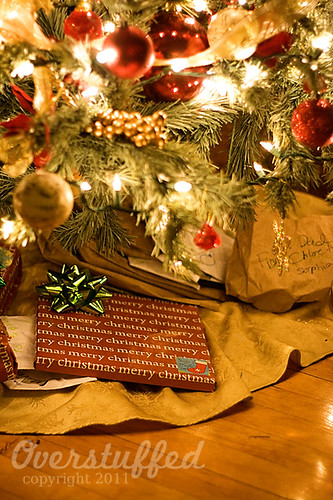
I keep thinking that maybe I’ll get around to making one, but so far that hasn’t happened.
But anyway, don’t feel like you have to spend hundreds of dollars (and I wish that weren’t an exaggeration) on a tree skirt. Just use something you like to cover up the tree stand. Fabric remnants and tablecloths work really well.
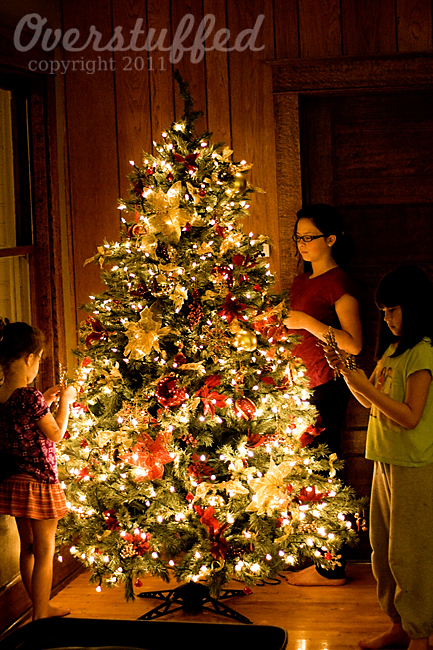
Now all you need to do is sit back and enjoy your masterpiece. Get some hot cocoa, turn on the Christmas tunes and turn off the lights and bask in the glow of the season. That’s why we have these Christmas trees anyway.
Merry Christmas!
***************
PS: Here is a website with some pretty cool Christmas tree inspiration. There are a lot of good color and theme ideas.
PPS: Once you’ve decorated your tree, the next step is to learn how to take some really cool Christmas light photos.

I have loved this series. I am going to hit the after-Christmas sales to get what I need to copy some of your techniques next year. Your tree is gorgeous. (Mine seemed rather bare this year for some reason and you just reminded me that I forgot to add a garland. Off to pop some popcorn for the garland!)
I do love your "overstuffed" tree; it's lovely! Great idea for an inexpensive tree skirt!
It's like a Martha Stewart magazine cover!
Beautiful! Those twirly twigs are actually called Ting-Tings, they are from the Philippine or Tagalog word for the stem of a palm/young coconut tree after you strip off the leaf sections of a frond. We use those twigs to make our "Ting-Ting" brooms for outdoor sweeping. The curling happens in the steaming process. The stems are normally only slightly bent after it dries.
That is a very very full tree. But it's beautiful, too. I actually really liked this series of photos, so thanks.
Wow! Wow! Wow!
So breath taking.
Thanks for sharing.
For me, somethings are just meant to be appreciated and admired. NOT to be attempted on my own. 🙂
Whoops, I meant BREATHTAKING. But I think splitting it into two words, makes it even better!
What a beautiful, full tree. I am always impressed when I see people (you) who go all out to decorate like this. I'm pretty sure I don't have it in me.
Wow! you are a master! Your trees are GORGEOUS!
And I have great news! You won the contest on my blog — a copy of What Think Ye of Christmas for everyone on your gift list!
I'm so excited you won! I WANTED you to win, but of course Random.org drew your name, so it's all fair and square!
I hope you'll review it when you get a chance!
Just gorgeous!
Holy cow, your tree is gorgeous! I love all the thought that goes into every detail, and how you've brought everything together into one beautiful whole. We're getting our tree next Sunday, and I can't wait to sit back and enjoy that glow you're talking about. Sigh. Christmas is the best!
Though my tree is not nearly as ornate as yours, I have to admit, I used many of your tips from your tutorials and I believe I produced the best tree I have ever done. I just love staring at it! And trying to keep Jonah away from it.