Make a Thankful Jar for Thanksgiving {free printable}
Use these printable gratitude strips to make a thankful jar this Thanksgiving!
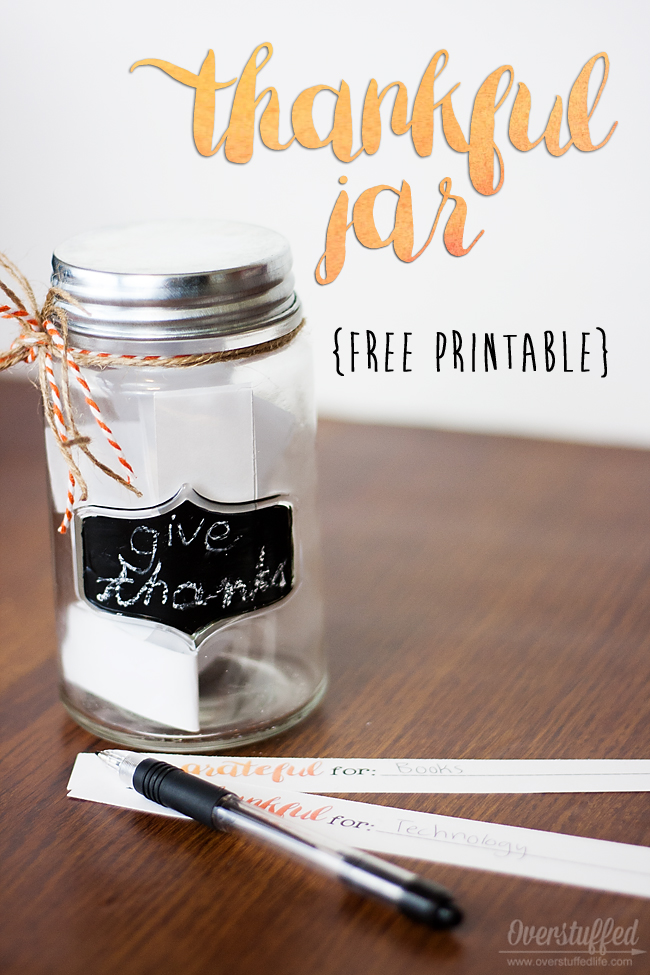
Normally by this time in November I would have put up our Thanksgiving tree.
I like to have it up all of November so we can focus on our gratitude all month. But here it is 10 days before Thanksgiving Day and I barely managed to get the Halloween decorations down just a few days ago. I just haven’t managed to go dig up the hedge clippers and trudge outside to get some branches for the tree, so it hasn’t gone up yet.
So, tonight I decided to do something different—and a whole lot easier!
A thankful jar.
I plan to keep it on the coffee table with blank strips for the kids to write their gratitudes every day until Thanksgiving. Then we will read them around the Thanksgiving table as we usually do with the tree.
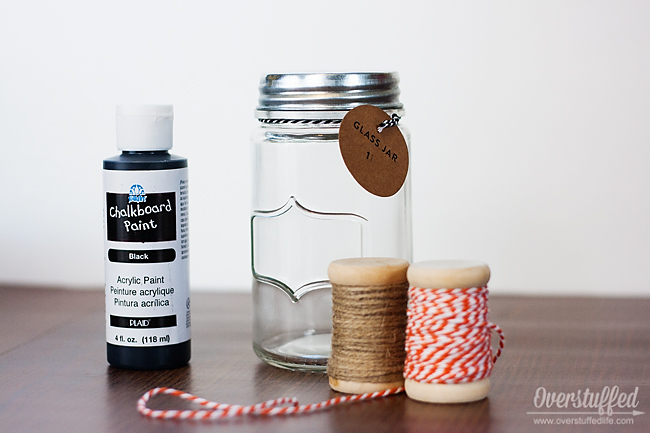
Supplies needed for thankful jar:
(affiliate links)
- A “yorkshire” mason jar (I used one I found in the Target dollar spot, but these are similar).
- Chalkboard Paint
- Baker’s twine
- Jute
- Paintbrush
- Chalk (I do love the chalkboard markers)
- White cardstock
You could also use a plain mason jar and use one of these chalkboard labels instead. Ribbon would work just fine in the place of the twine and jute.
How to make your thankful jar:
(This is so easy and fast! The only time that it really took was waiting for the paint to dry, and I just used a blow dryer to hurry that along!)
Use the paintbrush to paint inside of the grooved out label shape with chalkboard paint.
Once the paint is dry, use your chalk or chalkboard marker (I used actual chalk this time—and managed to accidentally erase it twice!) to write on the label. I wrote “give thanks” but you could choose one of many Thanksgiving sentiments.
Finish up by tying some jute and twine around the mouth of the jar.
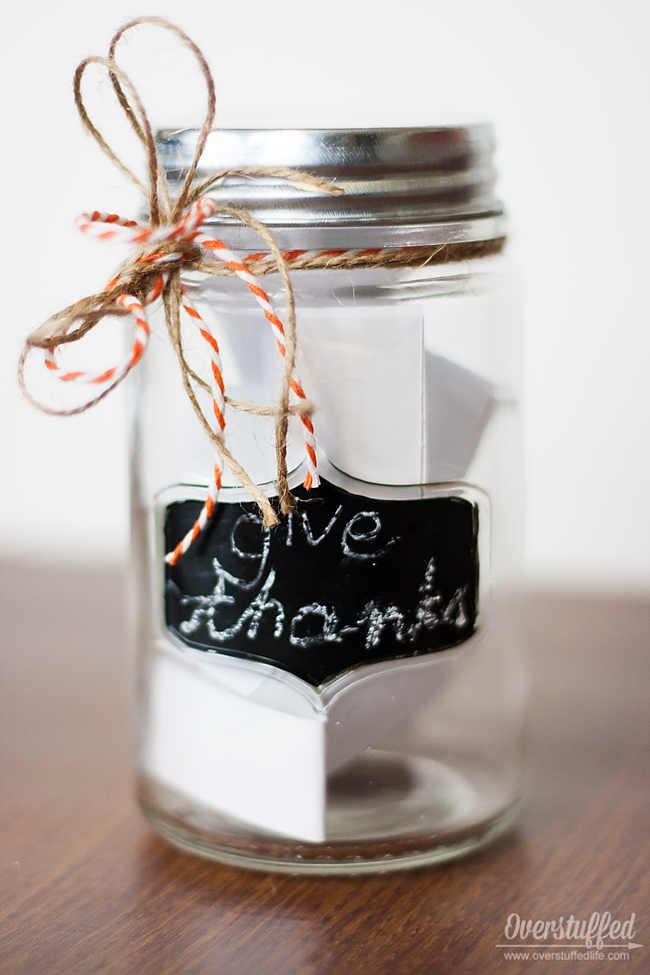
That’s it! The jar itself is finished.
For the gratitude strips, I whipped up a printable for you to download.
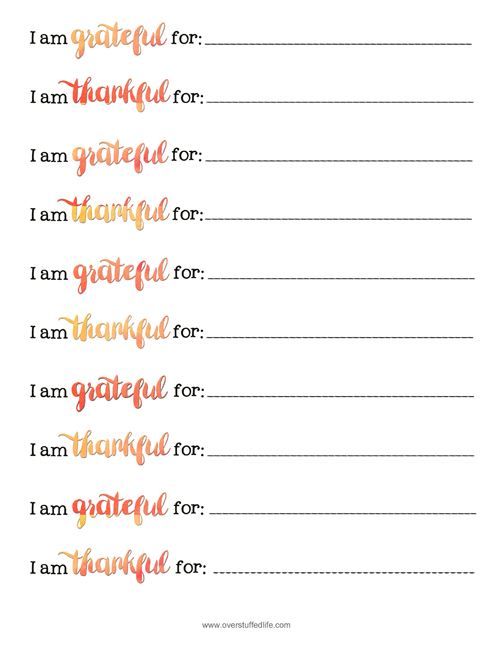
Print out as many copies as you need onto white cardstock. There are 10 strips per sheet.
To download the gratitude strips:
Enter your email into the form at the very end of this post. The printable will be sent directly to your email inbox.
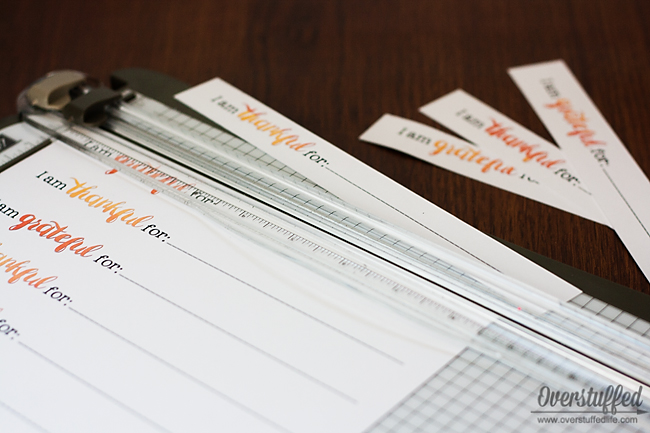
Cut your strips. I like to use a paper trimmer to get nice straight lines on my strips, but scissors will do just as well!
And that’s it! Seriously, this project takes only 10 minutes, not counting the paint drying time.
The jar and extra strips are now living on the coffee table where I hope my children will take the time to write down the things they are grateful for each day. One of my girls already got it started and I can’t wait to read them around the table on Thanksgiving Day!
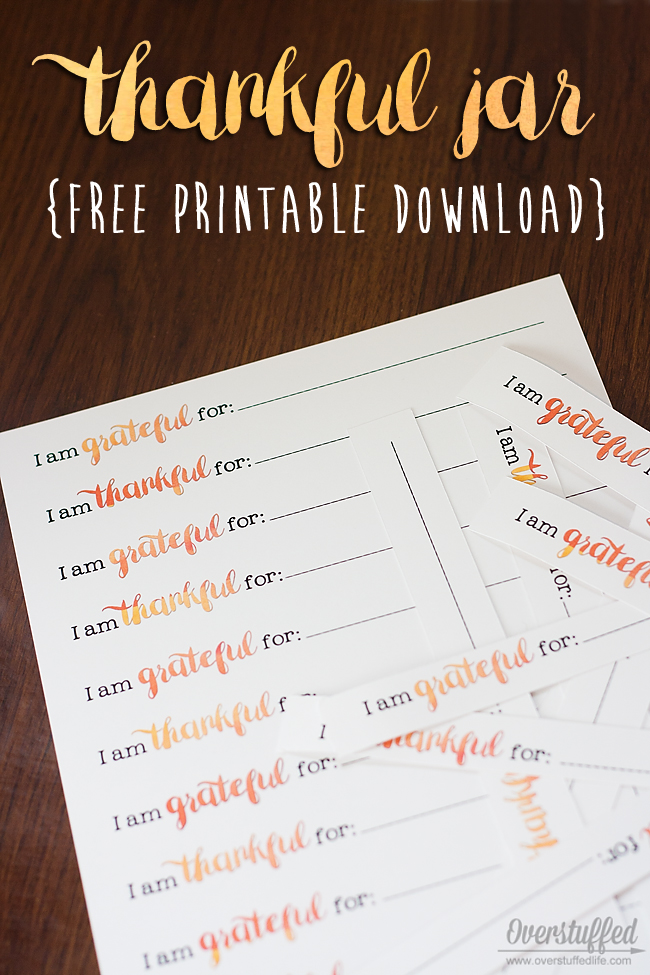
Get the gratitude strips to make your own Thankful Jar!

Enter your email address and receive the printable right to your email inbox.

Love these for all through the year! Thank you so much!