How to: Valentine’s Day Fist Holding Lollipop Cards
How to quickly make the cute Valentine’s Day Cards with the fist holding lollipops
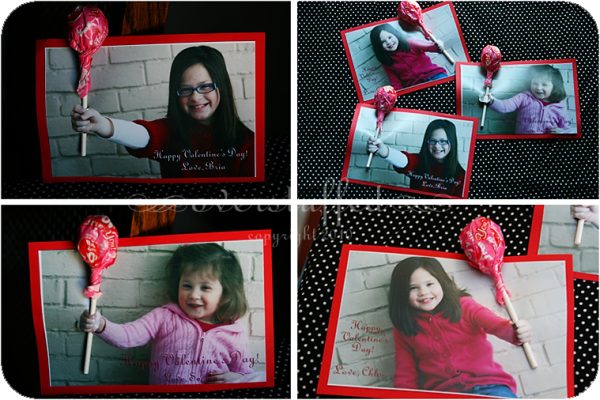
I always want to make valentines for my kids to hand out. February always seems to be too crazy of a month for me to pull that off, so I have never done it in the past. My oldest daughter really wanted to do them homemade this year, and I could not disappoint.
I found an awesome idea online that was totally cute, involved scrapbook paper, the computer, conversation hearts, plastic and my sewing machine. Already you know that this was way too much for me to attempt in my stressed-out state. But, as usual, I suffered from delusions of creative grandeur and was absolutely sure I could pull off making 65 of those suckers with grace and speed.
Ha! After the first one, I knew I would have a long 30 hours of crafting ahead of me if I chose to continue. So, naturally, I didn’t choose to continue and I posted about it on Facebook instead.
One of my friends came to the rescue by posting this link to some adorable lollipop valentines.
And I said, “I can totally do that!” And this time I knew it was true.

How to make “fist holding lollipop” Valentines
Supplies needed:
- Lollipops (I used Valentine’s Day themed Tootsie pops)
- Red card stock weight paper
- Paper trimmer
- Tape runner (you could use a gluestick, but the tape runner is so much faster!)
- Anywhere hole punch
- 4×6 Printed pictures of your kids holding their fist out
1. Get photos of your kids holding their fist out
I took about a half an hour to do a quick photoshoot. I figured these were photos that would be destroyed fairly quickly so I wasn’t going to fuss about photographic perfection.
But, it still wasn’t exactly easy.
First, I had to coax my youngest out of her favorite pink blankie.

Then I had to get her into an upright position.
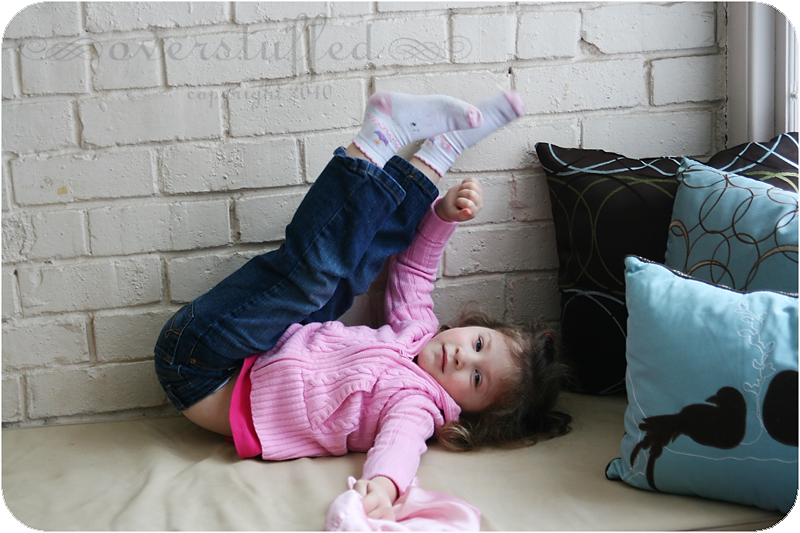
Then I had to show her how to keep her hands out of her mouth and her fist out of her face. Smiling, however, was never a problem. Thankfully.

After something like 25 photos (taken by the window on a day so overcast they were still super grainy), I finally got something usable.
My oldest is never a problem. Always the perfect little poser. Maybe a little too perfect.
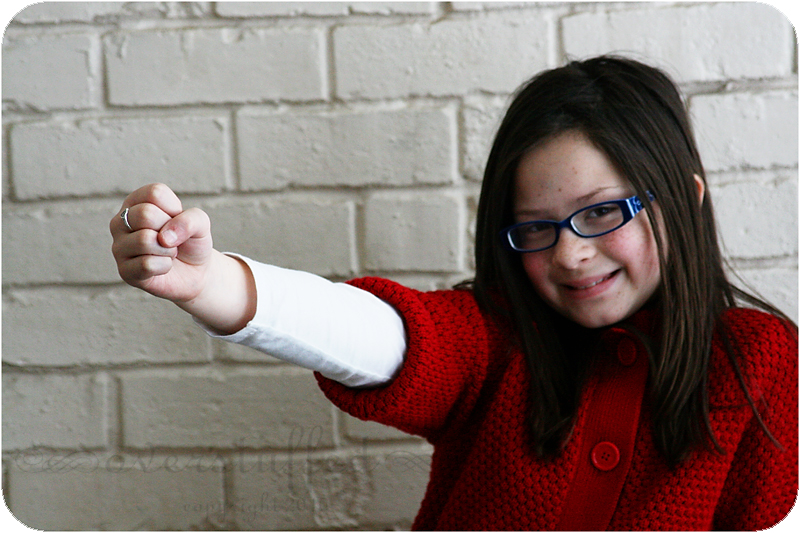
So after a quick fixing of the hair, coaxing the head to be more straighter (uhhh…did I really just type more straighter?) and joking with her to get her to laugh and give me a real smile, I easily got a keeper or five.
Then there’s my middle daughter.
First we needed to address her difficulty paying attention to the task at hand.

Then she pulled out her genius fake smile.

So, I began to joke with her the same exact way I had joked with her sister. I should have known better. She doesn’t like to be teased like her older sister does. She takes it totally personally. And instead of a real smile, I got this.

I quickly came to my senses and remembered who I was dealing with and finally got a picture that was Valentine-worthy.
2. Photoshop some text onto the photos
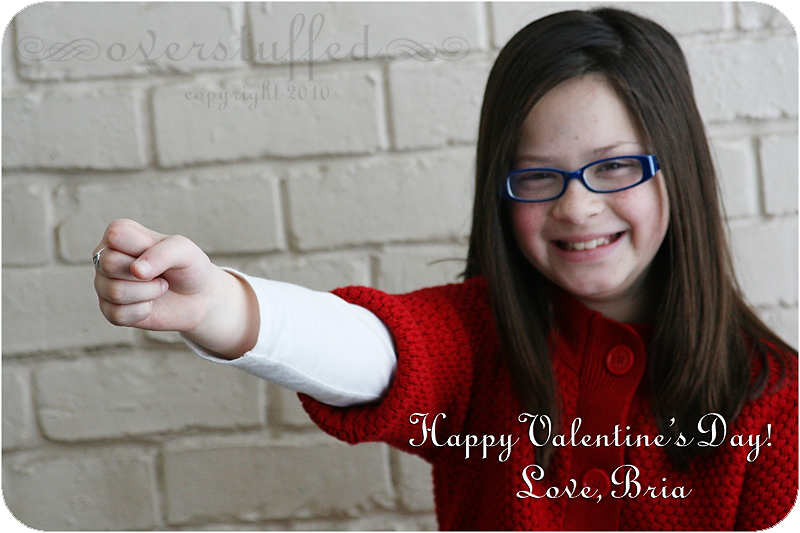
I added some text in photoshop and ended up with these:

 <
<
3. Print out the photos
I uploaded the pictures to Wal-Mart’s one hour photo. Between the three of them, there were 65 kids in their classes that would need a valentine! While I was waiting for the prints, I bought some Valentine’s Day lollipops and red card stock and I was good to go.
4. Mount photos onto card stock
I didn’t love the plain photo without something more sturdy on the back of it in the other blog, so I mounted them all on the red card stock.
To do this quickly, I used a tape runner to mount three photos on a sheet of 8.5×11 card stock. I then used the paper trimmer to cut them out. I was not worried about perfect margins—these are valentines for elementary and preschool kids.
5. Punch holes and insert the lollipops
I punched holes with my handy-dandy anywhere punch and inserted lollipops. I first tried the exacto knife as instructed in the directions I was using. I found it to be difficult to get the cut just the right size, and then the paper would rip when I put in the lollipop.
Since I have a large stash of craft supplies, I got out my anywhere punch and used that instead. I was able to quickly hammer holes in and the lollipop sticks fit perfectly without ripping the paper.
Total assembly time for 65 Valentines: about 2 hours.
Not bad, considering how many of them I made and that my preschooler had one of her epic tantrums sometime in the middle of assembly. But that is a story for another day.
Here is the final product—these are the very first ones I made, using photos I printed off on my computer just to see how it would all turn out. I used the exacto knife on these instead of the hole punch. If you look closely you can see why that didn’t really work…but I forgot to take pictures of the good ones. I did this project the day before we handed them out, after all!

Happy Valentine’s Day!


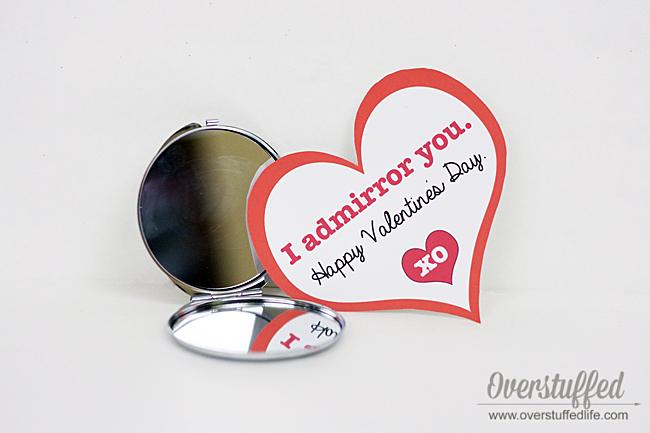
They turned out AWESOME!!
Those are really clever! What a fun idea.
These really are so dang cute!
Hey! We did the exact same thing!
They are SOOOOOOOOOOO cute!! What a great idea!!
What a great idea!
I totally thought they were doing the Jersey Shore fist pump.
Absolutely adorable!! So clever 🙂
How cute is that??? You are so incredibly talented.
I had seen these floating around blogs too and one of Elodie's classmates did them. They turned out so cute- love that eye trickery!!
I love those! I was totally going to make some of myself, but then I remembered that I'm an adult now. 🙁
I think they are incredibly darling! What beautiful girls you have. And what a fun valentine especially to send to the grandparents!
Those are just dang cute! I won't lie though, I am so glad to not have to worry about doing valentine's for school anymore!
way cute! and definitely looks easier than what you initially described.
Wow. Amazing.
My boys go to Target & pick their favorite superhero of the moment, a treat to go inside & there you go.
You are too much Lara.
If there's a heaven for excellent mommies, I'm going to hell. Those are so bloody darling, Lara!
brilliant!
They are ADORABLE…
wtg.
Wow-those are so cute! Good job.
That is a really cute idea. And I love how they are personalized to your children!
This is soooo cute! I will have to save it for next year…on second thought, maybe I should start on them now for next year!!!
Soooooo cute! At first I couldn't grasp what all the fists were for, but then when I saw the final image I just about died from the cuteness! What a great idea.
What a fabulous idea and so easy! I'm so glad you decided to give up on your other idea (whatever it was) it sounded way complex if it involved sewing! 🙂 Really, these area really precious! Excellent idea.
Completely adorable!
Those are so cute! Too bad my kids are too old to do valentines now…
Lara, these photos are beautiful, and your execution of this awesome idea is just GREAT!! LOVE this.
Those are adorable! We made them last year, but I took the east route this year and bought some. Those look so fun! Maybe I'll try it next year.
This is redundant, but they turned out so adorable! I haven't seen them here on the East Coast yet (not as many crafty people as you might see in AZ/Utah!). I may have to try it next year!
I love these!! It took a few minutes to catch on…..
Very cute! You obviously put a lot more time into yours- they turned out great! People around here aren't into making Valentine's much- but every Valentine does include candy. These were my answer to that. (Visiting from Steph's blog!)
62! That is a lot!! I did the same thing but I only made 32. I will have to blog it some day… :o)